
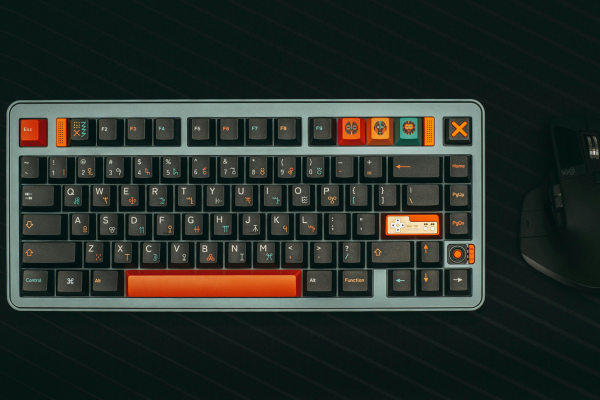
The first time someone told me I should “lube my switches,” I genuinely thought they were joking. It sounded like something made up by keyboard enthusiasts to mess with newcomers. Then I actually tried it on a cheap set of linear switches I wasn’t attached to, and the difference floored me. What used to sound scratchy and a little hollow turned smooth and noticeably quieter, almost like a completely different switch. If you’ve been putting off lubing your switches because it sounds intimidating, I get it — but it’s one of the highest-impact, lowest-cost upgrades you can make to a keyboard.
Why Lubing Actually Changes the Sound
Every mechanical switch has small moving parts: the stem sliding inside the housing, a spring compressing and releasing with every press. Straight out of the factory, these parts often have some friction between them, which is what causes that scratchy feeling and higher-pitched sound some switches have, especially linear ones that are supposed to feel smooth.
Applying a thin layer of lubricant to these contact points reduces that friction. The result is usually threefold: a smoother keystroke, a quieter spring (springs are one of the most overlooked noise sources in a switch), and often a deeper, more muted bottom-out sound. It’s not an exaggeration to say lubing can make a budget switch feel more premium than an unlubed higher-end one.
What You’ll Actually Need
You don’t need a huge setup to get started. Here’s the realistic minimum:
- A switch opener — a small tool that pops the switch housing apart without damaging it. You can technically do this with a flathead screwdriver, but a dedicated opener is cheap and much safer for the switch.
- Lubricant — the most common choices are Krytox 205g0 for springs and stems, and Krytox 105 or 106 for a lighter touch on housings. Some people also use Tribosys 3204, which is popular for linear switches specifically.
- A small brush — a fine detail brush works well for applying thin, even coats without overdoing it.
- A switch opener stand or a piece of foam — just something to hold switches steady while you work, honestly optional but it helps.
- Tweezers — useful for handling springs without getting lube all over your fingers.
You don’t need to buy expensive gear to try this out. A basic switch lube kit runs fairly cheap online, and it’s enough to lube dozens of switches.
The Basic Process, Step by Step
1. Open the switch.
Using your switch opener, gently separate the top and bottom housing. Be patient here — rushing this step is the most common way people accidentally snap the little clips holding the switch together.
2. Remove the stem and spring.
Once open, the stem lifts out, and the spring should come loose from the bottom housing.
3. Lube the spring.
This step alone makes a surprising difference. Springs often produce a faint “pinging” sound, especially in cheaper switches. A thin coat of lube on the spring coils quiets this down considerably. Some people go as far as “spring swapping” for even more consistency, but lubing alone gets you most of the benefit.
4. Lube the stem.
Focus on the rails of the stem — the parts that slide against the housing. This is where most of the scratchiness comes from. A little goes a long way here; over-lubing can actually make the switch feel mushy or sluggish.
5. Lube the housing contact points.
A light coat where the stem rails will slide is usually enough. Avoid the switch’s electrical contacts entirely — lube doesn’t belong anywhere near them.
6. Reassemble and test.
Snap the housing back together, pop the switch back into your keyboard (or test it in a switch tester if you have one), and type a few lines. You should notice the difference almost immediately.
Watch It Done Before You Try It Yourself
Reading through the steps helps, but this is genuinely one of those tasks where watching someone actually do it makes everything click. This video walks through the full process with some helpful tips for avoiding common mistakes:
I’d recommend watching a video like this once fully before opening your first switch, just so you know what “too much lube” looks like versus a proper thin coat. It’s a lot easier to see the difference than to describe it in text.
Common Mistakes I Made Early On
I’ll be honest about my own early mistakes here, because I think it helps more than a generic list of tips:
- I over-lubed my first batch badly. I thought more lube meant more improvement, and instead I ended up with switches that felt sluggish and heavy. A thin, even coat is genuinely all you need.
- I lubed the electrical contacts by accident. This can cause switches to feel inconsistent or stop registering keystrokes properly. Stay well away from that area.
- I didn’t let switches sit before judging them. Fresh lube sometimes needs a few dozen keystrokes to settle in evenly. Don’t judge the feel immediately after reassembly.
- I rushed opening switches and snapped two housings. Cheap switches are a good place to practice before touching anything you actually care about.
Is It Worth the Time?
Honestly, it depends on how many switches you’re doing. Lubing an entire 65-key or 75-key board by hand takes a while — I’d budget at least an hour or two for your first full board, longer if you’re being careful. For a small keyboard or a batch of test switches, it’s a quick, satisfying project. For a full-size board, it’s more of a weekend hobby task than a quick fix.
That said, if you’ve been wondering why your budget switches sound scratchier than the premium ones you’ve heard in videos, lubing is very often the answer — more so than the base switch quality itself.
Wrapping Up
Lubing switches isn’t as intimidating as it sounds once you’ve done a couple by hand. Start with a cheap switch you don’t mind potentially ruining, get a feel for how much lube is “enough,” and build up from there. If you’re already using silent switches, this pairs nicely with what we covered in our guide to silent switches for open offices — a good silent switch, properly lubed, is about as quiet as mechanical keyboards get without adding foam or dampening mods.
If you’re not ready to commit to lubing switches by hand yet, our article on switch swapping for beginners is a good next step, since swapping is a simpler way to change your keyboard’s feel and sound without opening individual switches.