
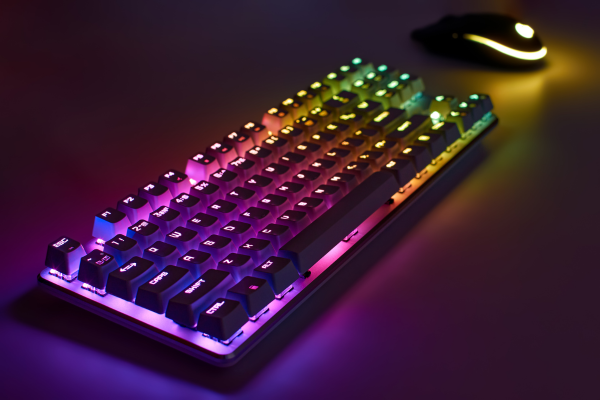
A friend of mine recently asked me why I owned “so many” loose switches sitting in little bags in a drawer. The honest answer is that switch swapping became one of my favorite cheap hobbies within a hobby. Instead of buying a whole new keyboard every time I wanted a different feel, I just swap the switches on the one I already have. If you’ve never tried it, it’s genuinely one of the easiest and most rewarding upgrades in the mechanical keyboard world, and you don’t need to know how to solder to do it.
What Switch Swapping Actually Means
At its core, switch swapping just means removing the switches currently in your keyboard and replacing them with different ones — different type, different brand, different feel. People do this for a bunch of reasons: maybe their current switches sound scratchy, maybe they want to go from clicky to silent for office use, or maybe they just want to try something new without buying an entirely new board.
There are two very different versions of this depending on your keyboard:
Hot-swappable keyboards have sockets built into the circuit board that let you pull switches out and push new ones in by hand, no tools beyond a switch puller required. This is by far the easier and more beginner-friendly version.
Soldered keyboards have switches permanently attached to the board with solder joints. Swapping switches here means desoldering the old ones and soldering in new ones, which is a more involved project requiring a soldering iron and some practice.
If you’re just getting into this, I’d strongly recommend starting with a hot-swappable board. It removes basically all the risk of damaging your keyboard, and it’s the difference between a 20-minute project and a multi-hour one.
What You’ll Need for a Hot-Swap
The tool list here is refreshingly short:
- A keycap puller — a simple wire or plastic tool that removes keycaps without damaging the stems underneath.
- A switch puller — a small metal tool that grips the switch housing from both sides so you can pull it straight out of the socket without bending the pins.
- Replacement switches — as many as you plan to swap, ideally a few extra in case one gets damaged.
- Optional: tweezers and compressed air — useful for cleaning out dust before inserting new switches.
That’s genuinely it. No soldering iron, no desoldering pump, nothing intimidating.
Step-by-Step: How to Swap Switches on a Hot-Swap Board
1. Disconnect the keyboard from your computer before starting, just as a safety habit.
2. Remove the keycaps using your keycap puller, working carefully so you don’t bend the stems.
3. Pull out the old switch using your switch puller. Squeeze the tool onto the sides of the switch housing and pull straight up and out. Avoid wiggling side to side, since this can bend the tiny metal pins underneath.
4. Check the pins on your new switch. Occasionally pins arrive slightly bent from packaging. Gently straighten them if needed before inserting, since bent pins are the most common cause of a switch not registering.
5. Insert the new switch by aligning the pins with the socket holes and pressing down firmly and evenly until it clicks into place.
6. Replace the keycap and test the key using a free online keyboard tester to confirm it’s registering properly.
Repeat for every switch you want to change. Your first one might take a couple of minutes as you get a feel for it; after a handful, most people can swap a switch in under thirty seconds.
See the Whole Process in Action
Watching someone do this once makes the whole process click a lot faster than reading steps on a page. This video breaks down the process clearly and includes a few tips that help avoid the most common beginner mistakes:
I’d recommend watching this before your first swap, especially the part about handling the pins carefully — that’s the step most beginners rush and end up regretting.
Common Beginner Mistakes
- Wiggling the switch out sideways. This is the single most common cause of bent pins. Pull straight up and out.
- Forcing a switch in with a bent pin. If a switch won’t seat properly, don’t force it — pull it back out and check the pins first.
- Not testing keys before closing everything up. If you’re also reassembling a case, always test with a keyboard tester before putting the case back together.
- Mixing up switch types without a plan. It’s fun to experiment, but if you’re not tracking which switch went where, you can end up with an inconsistent-feeling board by accident. Some people keep a simple layout note for reference.
Why This Is Such a Popular Entry Point Into Modding
Switch swapping is often the first “mod” people try because it’s cheap, reversible, and low-risk. If you don’t like the new switches, you just swap them back. It’s also a great way to figure out your actual switch preference without committing to it, since you can order a small variety pack and test several types on the same board before deciding what to build your next keyboard around.
It pairs naturally with a lot of the other topics we’ve covered. If you’re swapping in something quieter for office use, our guide to the best silent switches for open offices is a good place to start picking your next set. And if you want to take things further after swapping, lubricating your switches is usually the next upgrade people try, since it works well alongside a fresh set of swapped-in switches.
Is It Worth Buying a Hot-Swappable Board Just for This?
If you’re on the fence about your next keyboard purchase, I’d say yes, generally. The price difference between a hot-swappable board and a soldered one is usually small, and the flexibility it gives you down the line is significant. Even if you never plan to swap switches again after your first attempt, having the option available makes future upgrades, repairs, or experiments much easier.
Wrapping Up
Switch swapping is one of the lowest-risk, highest-reward upgrades available in this hobby. If your keyboard is hot-swappable, all you need is a keycap puller, a switch puller, and a bit of patience for your first attempt. Once you’ve done it a couple of times, it stops feeling like a project and starts feeling like a five-minute Sunday afternoon habit.