
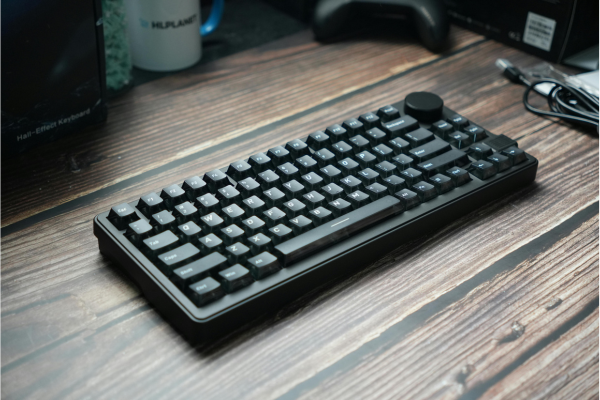
When I decided to build my first custom keyboard, I made the classic beginner mistake: I bought a kit before understanding what a “kit” even meant. I assumed it came with switches and keycaps included, like a pre-built keyboard. It didn’t. I ended up with a bare case, plate, and PCB sitting on my desk while I frantically ordered switches and keycaps separately, a week later than I’d planned. If you’re new to this hobby, let’s avoid that mistake for you.
What a “Kit” Actually Means
In the custom keyboard world, a barebones kit typically includes the case, the plate, the printed circuit board (PCB), and stabilizers. What it usually doesn’t include is switches and keycaps, you choose and buy those separately. This is actually the whole point of a custom build: the kit is the foundation, and the switches and keycaps are what make the keyboard uniquely yours.
Some kits do come with switches pre-installed as a convenience option, which can be a good call for absolute beginners who don’t want to make too many decisions at once. But most serious custom builds treat switches and keycaps as separate purchases.
Budget for this accordingly. A $40-50 kit is genuinely just the starting point, plan on adding roughly $20-40 for a set of switches and $30-60 for keycaps if you want the full experience.
What to Look For in a Beginner Kit
Hot-swap sockets. This is non-negotiable for a beginner kit. Hot-swap means you can pop switches in and out by hand, no soldering iron required. This alone removes the single biggest barrier to entry for most newcomers.
A reasonable size for your needs. Keyboards in this hobby come in shrunk-down layouts: 60% (no arrow keys or function row), 65% (adds arrow keys), 75% (adds a function row too), and full-size (includes a numpad). For a first build, I’d lean toward 65% or 75%, since losing arrow keys on a 60% board can be a bigger adjustment than people expect.
Decent stabilizers. Stabilizers are the small mechanisms under your longer keys (spacebar, shift, enter) that keep them balanced. Cheap kits sometimes cut corners here, leading to a rattly spacebar right out of the box. It’s not a dealbreaker since stabilizers can be lubed later, but it’s worth knowing going in.
Some form of sound dampening. Kits at slightly higher budget tiers ($45+) often include basic foam between the plate and PCB, which noticeably improves the sound over a completely hollow budget case.
A Few Solid Starting Points
Based on what’s held up well in the community and in my own experience, a few names consistently come up as reliable entry points for a first build:
- Compact 65% kits with aluminum or reinforced plastic cases tend to strike the best balance of price and durability for a first build. Look specifically for ones that mention hot-swap sockets and some form of internal foam.
- Kits with pre-installed basic switches are a reasonable shortcut if you genuinely just want to get typing quickly and plan to swap switches down the line once you know your preference.
- 75% layouts are worth the slightly larger footprint if you frequently use function keys for work, since remapping a function row through software layers can be an annoying habit to build for daily use.
Watch a Real Comparison
Written specs only tell part of the story when it comes to build quality and typing feel. This video compares a few popular budget kits directly, which gives a much better sense of what you’re actually getting at each price tier:
Watching a comparison like this before ordering helped me understand that the price difference between budget tiers usually comes down to material quality and included dampening, not some hidden dealbreaker feature.
Common First-Kit Mistakes to Avoid
- Assuming switches and keycaps are included. Double-check the listing. This is the single most common surprise for first-time buyers.
- Going too small on layout. A lot of people buy a 60% board because it looks clean in photos, then find themselves frustrated without dedicated arrow keys within a week.
- Ignoring stabilizer quality entirely. It’s not the end of the world if they’re mediocre out of the box, but it does mean an extra small project (lubing them) is likely in your future.
- Not checking hot-swap pin compatibility. Most modern hot-swap sockets support both 3-pin and 5-pin switches, but it’s worth a quick check before ordering switches separately, especially with off-brand kits.
After You’ve Got Your Kit
Once your kit arrives, the natural next step is deciding on switches. If you haven’t already, our guide on linear vs tactile vs clicky switches is a good starting point for figuring out which feel suits you, and our budget-friendly silent switches under $30 roundup is worth a look if you’re building specifically for a quiet environment like a shared office.
Wrapping Up
A good beginner kit doesn’t need to be expensive. Look for hot-swap sockets, a size that actually fits how you use a keyboard day to day, and some basic internal dampening if your budget allows. Everything else, switches, keycaps, sound tuning, comes after, and that’s honestly the fun part of the hobby anyway.