
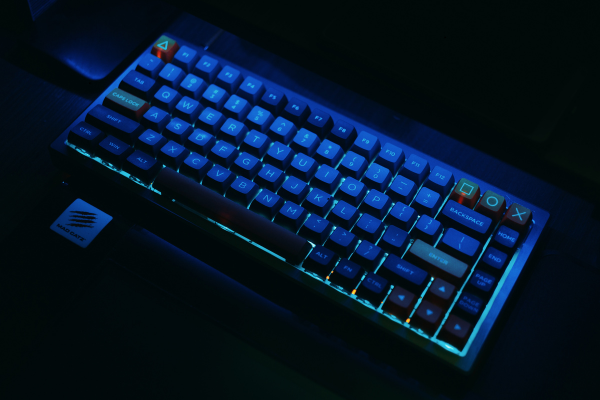
Looking back at my first build, I made almost every mistake it’s possible to make on a hot-swap kit, and somehow the keyboard still turned out fine in the end. That’s actually the reassuring part of this hobby: most beginner mistakes are annoying rather than catastrophic, and nearly all of them are fixable if you catch them in time. Still, knowing what to watch for ahead of time saves you a lot of unnecessary backtracking.
Here are the mistakes I see most often, including several I made myself.
Mistake #1: Skipping the Pre-Build Test
This is, without question, the most common and most regretted mistake among first-time builders. Before installing a single switch, you’re supposed to plug in your bare PCB and use tweezers to lightly tap each hot-swap socket’s contact points, confirming every key registers using a free online keyboard tester. Skip this step, and if there’s a dead socket somewhere, you won’t find out until after you’ve fully assembled the case, keycaps and all, at which point tracking down the problem means disassembling everything you just put together.
It takes maybe five minutes. There’s no good reason to skip it, and I say that as someone who skipped it on my first build and paid for it with an extra hour of frustrated disassembly.
Mistake #2: Bending Switch Pins
This happens most often when people try to wiggle a switch out sideways instead of pulling it straight up, or when they force a switch into a socket without first checking that the pins are straight. Bent pins are the number one reason a switch won’t register properly after installation. The fix is usually simple, gently straighten the pin with tweezers or a specialized pin straightener, but it’s an entirely avoidable annoyance if you’re careful during installation and removal.
Mistake #3: Over-Lubing Stabilizers (or Switches)
It’s tempting to think more lubricant means more improvement, but this is backwards. Overdoing it on stabilizers or switch stems makes them feel mushy and sluggish rather than smooth. A thin, even coat is genuinely all you need. I over-lubed my first batch of stabilizers so badly that the spacebar felt like it was pushing through syrup, and had to disassemble and clean them off before starting over with a much lighter touch.
Mistake #4: Installing Stabilizers Backwards or Misaligned
Stabilizers have a specific orientation, and it’s surprisingly easy to install them upside down or in the wrong spot without realizing it until you notice a rattle or an uneven keystroke on your spacebar or enter key. Double-check the orientation against your kit’s instructions before snapping them into place, since fixing this after the plate is mounted is more annoying than catching it upfront.
Mistake #5: Buying Cheap Plastic Keycaps as an Afterthought
This one is more about disappointment than a technical error, but it’s worth mentioning. It’s common for beginners to spend a meaningful amount on a nice case and switches, then grab the cheapest available keycap set without much thought. Thin, cheap plastic keycaps can make even great switches sound hollow and feel less satisfying than they should. Keycaps are as much a part of your final sound and feel as your switch choice, they’re not just cosmetic.
Mistake #6: Not Researching Component Compatibility
If you’re buying a case, plate, and PCB separately rather than as a pre-matched kit (more common for intermediate builders, but it happens to ambitious beginners too), it’s easy to end up with parts that don’t actually fit together. Plate mounting holes, PCB dimensions, and case cutouts all need to match. For a first build, buying a complete kit where everything is pre-matched removes this risk entirely, which is exactly why we recommend that route for beginners.
Mistake #7: Rushing Keycap Installation
Crooked or unevenly seated keycaps are a small thing that bugs you every single time you type once you notice it. Take the extra few seconds per key to make sure each one presses on straight and evenly, rather than rushing through the final step because you’re excited to start typing.
Mistake #8: Forgetting to Test Again Before Sealing the Case
Even if you did your pre-build test, it’s worth running through every key one more time after switches are installed but before the case is fully closed up. This catches any switch that didn’t seat properly during installation, something that can happen even with careful work.
Watch These Mistakes Explained in Detail
Seeing these mistakes explained with visual examples makes them much easier to recognize and avoid in your own build. This video walks through five of the most common beginner errors with clear explanations of why each one happens and how to prevent it:
I’d genuinely recommend watching something like this before your first build rather than after, since it’s much easier to build good habits from the start than to unlearn bad ones.
Why None of This Should Scare You Off
Despite this long list, I want to be clear: almost every mistake here is fixable, cheap to fix, or both. A bent pin takes thirty seconds to straighten. Over-lubed stabilizers can be cleaned and redone. Even a fully assembled case with a dead switch just means an extra half hour of disassembly, not a ruined keyboard. The hobby has a reputation for being intimidating, but in practice, first builds go wrong in small, recoverable ways far more often than in expensive, unfixable ones.
If you want a refresher on the actual build sequence before you start, our step-by-step build guide covers the full process in order, and if you’re still deciding between a kit and a pre-built board, our barebones vs. pre-built comparison is worth reading first to make sure you’re starting with the right foundation for your goals.
Wrapping Up
The most common first-build mistakes, skipping the pre-build test, bending pins, over-lubing, and rushing the final steps, are all avoidable with a little patience and a bit of forethought. None of them are expensive or permanent if caught early, so don’t let the length of this list discourage you. Every experienced builder made several of these mistakes on their first attempt too.